Preparation
- Please make sure the LiveWedge firmware is Rev. 1463 or later. For details on how to update the firmware check here.
- Make sure the Lamps are fully charged.
- Connect the Station and Lamps. Connection methods are here.
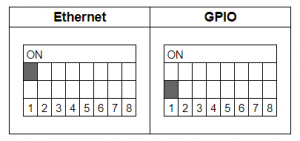
- Turn ON the No.1 DIP switch on the Station and change the connection method to Ethernet.

Connection Procedure
- Set the DIP switches of each lamp for 4 channels.

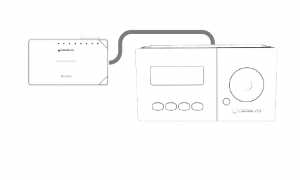
- Connect Station to LiveWedge[Without Router]
Connect the station and LiveWedge with an Ethernet cable.

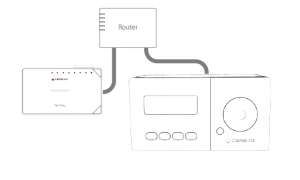
[With Router]
Connect the station and LiveWedge via a router with Ethernet cables.

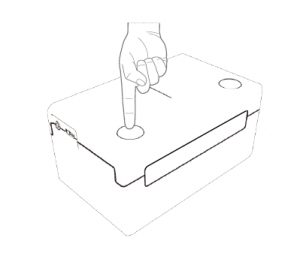
- Press and hold the power button on the Lamp. When the power turns on, the status LED lights up blue.

- Connect the AC adapter to the station and turn on each lamp. When the power turns on, the status LED lights up blue.

- Switch LiveWedge’s video channels and check that each lamp reacts.

Change connection when using multiple LiveWedges
If there is more than one LiveWedge on the same network, you can switch the connection with the Function 1 button.
You can then check the connection by switching input channels on LiveWedge.